Sunday, May 27, 2012

The Daring Bakers May 2012: Challah!

May's Daring Bakers' Challenge was pretty twisted- Ruth from The Crafts of Mommyhood challenged us to make challah! Using recipes from all over, and tips from "A Taste of Challah" by Tamir Ansh, she encouraged us to make beautifully braided breads.
4 Strand loaf in the process

Getting ready to try my hand at 6 strands!
Of course, in the month that the husband and I decide we are going to try to eat less starches (which I am certain is going to kill me, I love bread, pasta and potatoes!) the challenge is challah, which I have wanted to make for a long time. I am glad I did this challenge- the braiding was fun and turned out better than I thought it would! I hadn't ever tried doing a 4 strand braid, much less a 6! I was so pleased with how my 4 strand loaf turned out, I decided to do 6 strands on the second.
4 Strand loaf on the right, 6 on the left.
4 strand on top, 6 on bottom
This weekend we are going camping with my husband's family and we are bringing along the challah to try French Toast on the grill. I'll let you guys know how that goes. We haven't actually eaten it yet, so I can't tell you how delicious it is but if the way it made our house smell is any indication, this bread is going to be worth returning to eating starch, however temporarily!

again, 4 strand on the right, 6 on the left
I made the Honey White version of this bread, although there were many other options in our challenge recipes. It all came down to what I had on hand and the fact that I was planning on making two other baked goods in the same night. This one required less rise time, so I went with it.


Honey White Challah

1 ½ cups warm water, separated
1 tablespoon sugar
2 tablespoons (2-⅔ packets) dry active yeast
½ cup honey
1 tablespoon oil
4 large eggs
1 ½ teaspoon salt
5 cups all purpose flour, plus more as needed (up to 8-9 cups total)
1 egg beaten with 1 teaspoon water

1. In mixer bowl combine ½ cup warm water, sugar, and yeast. Allow to proof about 5 minutes until foamy.

2. To the yeast mixture add the honey, remaining water, oil, eggs, salt and 5 cups of flour. Knead until smooth, adding flour as needed. Knead for approximately 10 minutes.

3. Transfer dough to a clean, oiled bowl, turn to coat or add a bit more oil on top. Cover bowl with a kitchen towel. Leave to rise in a warm place until doubled (about 1½ hours.)

4. Punch down the dough, divide it into two sections. Use one half to make each loaf (shaped or braided as desired).

5. Place loaves on parchment lined or greased baking sheets (this is important- do use two separate sheets. I didn't and my bread rose so much in the oven the loaves ended up touching.) Cover with a towel, allow to rise 30 minutes.

6. Preheat oven to 325℉.

7. Brush top of loaves with egg wash. (sprinkle with seeds or toppings here if wanted)

8. Bake loaves 30-40 minutes until done (will be golden) and cool on wire racks.

Saturday, May 26, 2012

Pretzel and Chocolate Chip Bars

As hinted to in my previous post, I had a marathon baking evening a few days ago. I made a really delicious Strawberry Rhubarb Coffee Cake for an early morning meeting at work. Not to brag, but I walked in with a plate piled high with homemade deliciousness, and people were opening bags of pretzels and sliding store-bought breakfast pastries out of boxes. If there were an award for overachieving at 7:45 in the morning, I would have won it. Seeing as I had missed almost as many of these meetings over the past school year as I had been to, I kind of felt like I owed it to the other attendees to bring something that required a bit of work on my part. And that cake is seriously better than any ordinary coffee cake!

I have run into an issue that I think many home bakers run into at some point in their lives. I love collecting recipes and trying out new techniques and the act of making something delicious. When it comes to the finished product, I also really enjoy eating it. This is my problem. I need to be able to create food without having to actually eat it. If I know that it is for a specific purpose, like the coffee cake, I'll leave it alone. If I just made it for the fun of it, without any intended recipient, all bets are off. Often we will have a family get together that I can bring the food to, but when we don't, I run into problems. This has been part of the reason I haven't been posting as much. I want to cook and bake fun things, but whatever I want to make is often too much for just the two of us.

I'm really curious how other food bloggers deal with this. I hate to think of throwing food out, when I watched The Kings of Pastry, they just trashed a less than perfect looking cake. I was aghast. But I realize that you can't necessarily eat everything you make. So, what is your solution, fellow bloggers?

Another of my creations from earlier in the week was this Pretzel and Chocolate Chip Bars recipe. I had seen something similar on Pinterest from the blog Simply Scratch and thought it would be a great thing to bring along this weekend when we celebrate the Memorial Day long weekend with family. I was pleased with the way they turned out, although the pretzel "crust" is an interesting texture. I was expecting a crunchy crust, but instead they seemed to take on the bar like chewy texture. Still, you get salty and sweet in one bite, and in my book that is a recipe for satisfaction!

Pretzel and Chocolate Chip Bars

pretzel crust ingredients
3 ½ cups pretzel sticks
¾ cup unsalted butter, melted

chocolate chip cookie bar dough ingredients
¾ cup unsalted butter, room temperature
¾ cup sugar
¾ cup brown sugar
2 eggs
1½ teaspoon vanilla
2¼ cup all-purpose flour
1 teaspoon baking soda
¾ teaspoon salt
1 bag of milk chocolate chips

1. Preheat oven to  350℉. Line a 9x13 baking pan with parchment paper.

2. Beat butter and sugars in a mixing bowl at medium speed, until creamy. Add the eggs one at a time and vanilla, beating until just blended after each addition.

3. Combine flour, baking soda and salt in a separate bowl. Whisk until airy and gradually add the flour mixture to the sugar/egg mixture, mixing well after each addition. Scrape down sides of bowl and add in the chocolate chips. Mix again to incorporate chips, then set aside.

4. Place pretzels in a large bag or in food processor. Crush into smallish pieces (not into pretzel dust). Combine in a bowl with the melted butter and stir. Spread pretzel mixture over the bottom of pan and bake for 8 minutes.

5. Drop large spoonfuls of cookie dough onto pretzel crust. Carefully and evenly spread the batter over the warm pretzels. Press cookie dough into pretzels. Bake for 20-24 minutes, rotating halfway through. Bars are done when golden and a tester inserted near the middle comes out clean.

6. When bars have cooled, remove from pan using the parchment paper and cut.

Wednesday, May 23, 2012

Just an Observation...

I have a tendency to stockpile sticks of unsalted butter. I just bought two more pounds of butter, only to discover a pound sitting in the freezer already when I got home. There is also a coupon in next week's grocery advertisment for butter, those enablers.

This seems like a bad thing. Maybe.

I'm doing a marathon baking session tonight. Daring Bakers is set to be posted this week, and this procrastinator hasn't started on that yet. Additionally, I am set to be bringing treats to a couple things at the end of the week. So, maybe this butter stockpiling isn't all bad. Maybe I'm just a good little boy scout- isn't the motto "be prepared!"?

Anyway, look for more posts to come soon.

In related news, the school year is almost up, so I'll hopefully be back to having the energy to post more than solely when required (challenge posts). Although, we are moving to a new house soon (real estate gods, are you listening? I really want to close on our home soon and break in the new kitchen!!) and going on our real Honeymoon to Sonoma/Napa/San Francisco shortly after that is set to occur. So we'll see. But I'm hoping to get to post more. Really, I am!

Monday, May 14, 2012

Daring Cooks May 2012: Boeuf Bourguignon


Sorry for the blurs- this was an "oh yeah, I have to take a photo" moment. 

Our May 2012 Daring Cooks’ hostess was Fabi of fabsfood. Fabi challenged us to make Boeuf Bourguignon, a classic French stew originating from the Burgundy region of France.

I'll admit that the moment I read this month's challenge, I made a noise best described as a squeal. Boeuf Bourguignon has been on my "kitchen bucket list" for a long time. It is one of those recipes that I haven't had a reason to make until now, although another perfect reason presented itself after the challenge was posted.

Mother's day is a chance for us to give a little back to our mothers, although there is really no way to even begin to match all that they have done. This year we decided to let my mother in law sit back and have someone cook (and clean up afterwards) for her- Boeuf Bourguignon seemed like a perfect meal.


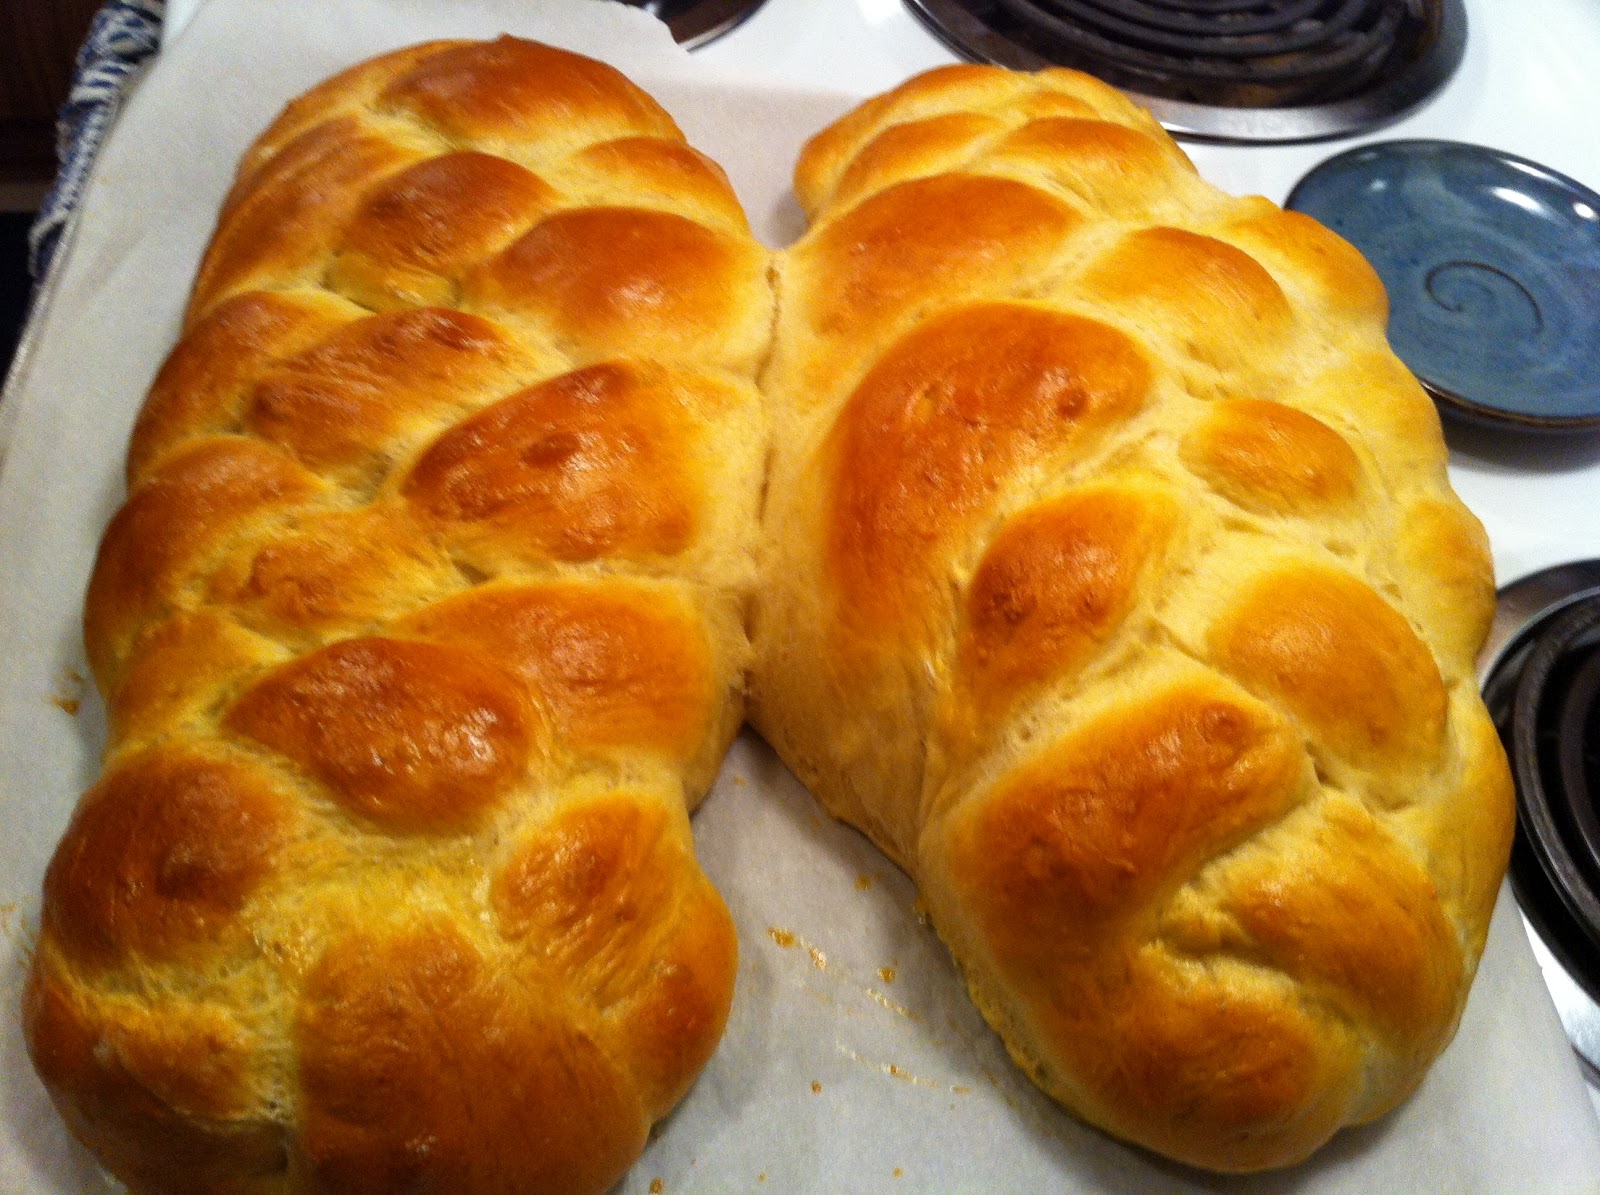
This was delicious and will definitely be made again. I baked a couple loaves of French bread to go along with the dish and also served a light butterscotch/ caramel dessert.


Without further ado: the recipe!

Boeuf Bourguignon (a la Julia Child)

Ingredients:
A 6-inch chunk of bacon
3 lbs lean stewing beef, cut into 2 inch cubes
1 sliced carrot
1 sliced onion
3 cups of a full-bodied young red wine such as Beaujolais, Cotes du Rhone, Burgundy 
2 to 3 cups brown beef stock or bouillon
1 tablespoon tomato paste
2 cloves mashed garlic
1/2 teaspon thyme
1 bay leaf (Julia says crumbled, but I left it whole so it could be easily removed)
18-24 small white onions, peeled
A medium herb bouquet: 4 parsley sprigs, ½ bay leaf, ¼ tsp thyme tied in cheesecloth
1 lb quartered fresh mushrooms


Directions:
1. Remove bacon rind, cut into lardons (sticks, ¼ inch thick and 1½ inches long). Simmer rind and bacon for 10 minutes in 1½ quarts water. Drain and dry. Preheat oven to 450°F.

2. In a 9-10 inch fireproof casserole dish, sauté bacon only in 1 Tablespoon olive oil over moderate heat for 2 to 3 minutes to brown lightly. Remove to a side dish with a slotted spoon. Set casserole aside. Reheat until fat is almost smoking before you sauté the beef. 

3. Dry the beef in paper towels; it will not brown if it is damp. Sauté it, a few pieces at a time, in the hot  oil and bacon fat until nicely browned on all sides. Add it to the bacon.

4. In the same fat, brown the sliced onion and carrot. Pour out the sautéing fat. 

5. Return the beef and bacon to the casserole and toss with salt and pepper. Sprinkle with 2 tablespoons flour and toss again to coat the beef lightly with the flour. Set casserole uncovered in middle position of  the preheated oven for 3 minutes. Toss the meat and return to oven for 4 minutes more. (This browns the flour and covers the meat with a light crust.) Remove casserole and turn oven down to 325°F.

6. Stir in the wine and enough stock or bouillon so that the meat is barely covered. Add the tomato paste, garlic, herbs and bacon rind. Bring to simmer on top of the stove. Then cover the casserole and set in lower third of preheated oven. Regulate heat so liquid simmers slowly for 2 ½ to 3 hours. The meat is done when a fork pierces it easily. 

7. While the beef is cooking prepare the onions and mushrooms. 

8. For the onions: heat 1½ tablespoon and 1½ tablespoon oil in a skillet. When butter and oil are bubbling, add the onions and sauté  over moderate heat for about 10 minutes, rolling the onions so they brown as evenly as possible. Be careful not to break their skins. Pour in about ½ cup of brown stock or beef bouillon and add the herb bouquet. Cover and simmer slowly for 40-50 minutes until the onions are perfectly tender, but retain their shape and the liquid has evaporated. Remove the herb bouquet. Set onions aside. 

9. For the mushrooms: place skillet over high heat with 2 tablespoons butter and 1 tablespoon oil. As soon as you see that the butter foam has begun to subside, add the mushrooms. Toss and shake the pan for 4-5 minutes. As soon as they have browned lightly, remove from heat. 

10. When the meat is tender, pour the contents of the casserole into a sieve set over a saucepan. Wash out the casserole and return the beef and bacon to it. Distribute the cooked onions and mushrooms over the meat. 

11. Skim fat off the sauce. Simmer sauce for a minute or two, skimming off additional fat as it rises. You should have about 2½ cups of sauce thick enough to coat a spoon lightly. If too thin, boil it down rapidly. If too thick, mx in a few tablespoon of stock or canned bouillon. Pour the sauce over the meat and vegetables. 
  
12. Cover the casserole and simmer for 2-3 minutes, basting the meat and vegetables with the sauce several times. Serve  with potatoes, noodles, or rice and decorated with a few springs of fresh parsley. 

Tuesday, May 8, 2012

Guest Post!

I'm so excited! Jenni over at The Gingered Whisk asked me to help out with her big move this spring. Since I live in Wisconsin and she is approximately 10 hours away, she asked me to help out with a guest post on her blog.

I made a delicious torte that I'm sure will be a repeat on our table. Check it out over at Jenni's blog and make sure you check out her other delicious recipes!