Monday, February 27, 2012

The Daring Bakers February 2012: Quick Breads

The Daring Bakers’ February 2012 host was – Lis! Lisa stepped in last minute and challenged us to create a quick bread we could call our own. She supplied us with a base recipe and shared some recipes she loves from various websites and encouraged us to build upon them and create new flavor profiles.

Maple Filling is Happy
What is the first thing you think when you hear "quick bread"? Usually for me, it is banana bread. But I've made that so many times I wanted to try something new. I love lemon poppy seed muffins, so I thought why not make a lemon poppy seed loaf? There was also a recipe for a pumpkin bread with a maple cream cheese filling included in the challenge recipes, and I've never done a filled quick bread, so I thought why not? 

I love how easy quick breads come together. The recipes are easy to follow, don't make too much of a mess in the kitchen, and are easy to share when you realize that you've made 4 loaves of sweet bread and just stared a new exercise regimen and you really shouldn't be eating all of that stuff. Probably the hardest thing about making quick breads is waiting for them to cool (the lemon poppy seed has to sit overnight!) before you can break into them and have a slice. 

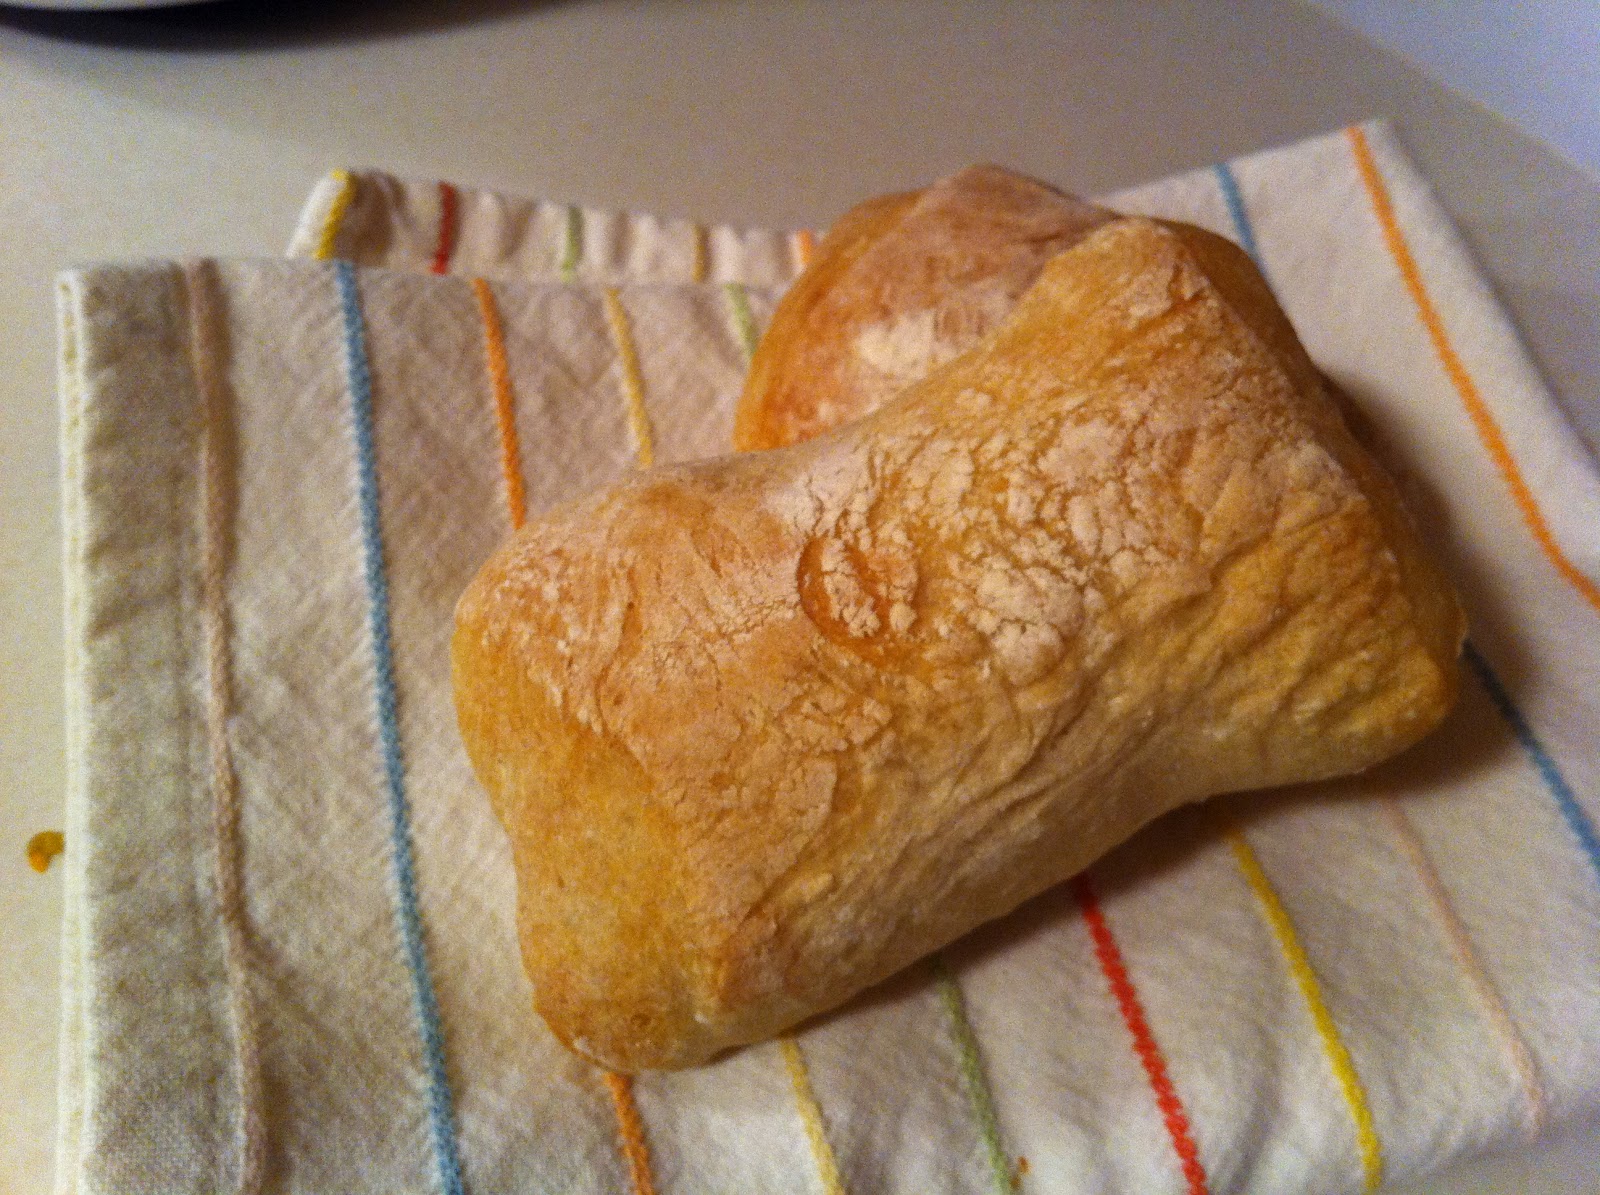
Lemon Poppy Seed Bread
(Joy of Baking)

Bread
3 large eggs
1 ½ teaspoon vanilla extract
¼ cup milk
1 ½ cups all-purpose flour, sifted
¾ cup sugar
1 teaspoon baking powder
¼ teaspoon salt
1 tablespoon grated lemon zest
3 tablespoons poppy seeds
13 tablespoons (1 ½ sticks) unsalted butter, softened

Lemon Syrup
¼ cup fresh lemon juice
⅓ cup granulated sugar

Any reason to go to Penzy's....
1. Preheat oven to 350℉ and place the oven rack in the center of the oven. Butter and flour the bottom and sides of a loaf pan (8x4x 2½ inches).

2. In a separate bowl, whisk together the eggs, vanilla and milk.

3. In the bowl of your mixer, beat the flour, sugar, baking powder, salt, lemon zest, and poppy seeds until combined. Add the softened butter and half the egg mixture and mix on low until moistened. Increase the speed to medium and beat for about one minute. Scrape down the sides of the bowl and add the remaining egg mixture in two batches, beating about 30 seconds after each addition. 

4. Scrape the batter into the prepared pan and bake for 55-65 minutes, or until the bread is golden brown and a toothpick inserted in the center comes out clean. (Check on it about halfway through and cover with foil if necessary to prevent over-browning.)

5. Meanwhile, in a small saucepan, bring the sugar and lemon juice to a boil, stirring until the sugar dissolves. 

6. When the bread is done, remove from the oven and place on a wire reach. Pierce the hot loaf all over with a toothpick and brush the top of the loaf with half of the lemon syrup. Cool the loaf in the pan for 10 minutes. 

7. Invert loaf onto a greased wire rack. Brush the remaining syrup onto the bottom and sides of the loaf. Reinvert the bread so it is right side up and cool the bread completely before wrapping. Store at least overnight before serving.


Pumpkin Bread with Maple Cream Cheese Filling
makes 3 loaves

Filling
2 packages cream cheese, softened
¼ cup white sugar
1 large egg
1 tablespoon milk
1 teaspoon maple extract or 1 tablespoon maple syrup

Bread
3 cups white sugar
1 ¾ cup pumpkin purée (not pumpkin pie filling)
1 cup light or non flavored oil
1 cup water
4 large eggs
4 cups all purpose, unbleached flour
2 teaspoons baking soda
1 teaspoon baking powder
2 teaspoons ground cinnamon
½ teaspoon ground nutmeg
1 teaspoon salt
¼ teaspoon ground cloves

1. Preheat oven to 350℉. Spray three loaf pans with cooking spray.

2. Beat the cream cheese, sugar, egg and milk in a small bowl until creamy, add the maple and blend. Set aside for now. 
The maple made a pretty design in the cream cheese :)

3. In a large bowl, beat the sugar, pumpkin, oil, water and eggs. In another large bowl mix the flour, baking soda, baking powder, salt and spices.  Gradually add the dry ingredients to the wet. 

4. Pour half the batter into the three pans. Spoon the filling over the batter. Use a spatula to spread it out carefully. Add the remaining batter, making sure you cover the filling completely. 

5. Bake for 50-60 minutes or until a toothpick inserted near the center comes out clean. Cool 10 minutes in the pans before removing the bread to a wire rack to cool completely.

Store bread wrapped in plastic wrap in the refrigerator. 


Tuesday, February 14, 2012

The Daring Cooks February 2012: Pleasing Patties!


The Daring Cooks’ February 2012 challenge was hosted by Audax & Lis and they chose to present Patties for their ease of construction, ingredients and deliciousness! We were given several recipes, and learned the different types of binders and cooking methods to produce our own tasty patties!

The extent of my patty making experience prior to tackling this challenge was slapping together ground beef for hamburgers. Nothing else. Just ground beef. I couldn't imagine the vast, delicious array of patty types that existed. I did some research because I wanted to really try something different. I love this challenge because the possibilities really are endless and is only as complicated as you want to make it.

You may have figured out that my husband loves sweet potatoes. Any time a sweet potato is an option, he takes it. At Red Robin the sweet potato fries are the only type of fry that touches his plate. So when I saw a recipe for a patty made with sweet potatoes, I knew it was the one I was going to make.

There was just one slight snag- the recipe was written only in grams. I still do not have a food scale. And cannot think in grams. So when I saw "800g sweet potato"  I had no idea of how many to buy. Then the recipe called for a 400g can of lentils. The only lentils I could find were dried in the bag. I thought that's fine- the bag says how many grams is in it, I'll just eyeball it. Without realizing that when I cooked them in the water I was going to end up getting way more than 400g. So I made way too much of both ingredients for these patties. If you do make it, I can't tell you what the real amounts are if you're also not used to working in grams, but you're probably better at that game than me and won't mess it up. At least we really liked these patties, because there are about 10 of them in the freezer just waiting for a lazy night when I don't feel like mixing anything else up.

We paired these with freshly baked ciabatta rolls, and a generous slice of tomato. They were very delicious. I'm very glad we have some more left over (and that I don't have to turn my kitchen into the giant mess that happened the first time.)

Sweet Potato and Lentil Patties
with Sour Cream Coriander Dressing

For the Patties
800g sweet potato, peeled and cut into cubes
2 tablespoons of oil plus extra to fry
1 medium yellow onion, finely chopped
2 cloves of garlic, crushed
1/2 teaspoon ground cinnamon
400g can brown lentils, rinsed
1/4 cup flour
1 egg, lightly beaten
2 tablespoons milk
2 cups dried breadcrumbs

For the dressing
1/2 cup low-fat sour cream
1 clove garlic, crushed
2 tablespoons coriander

1. Preheat oven to 350°F, place sweet potatoes on a large baking sheet and drizzle with a tablespoon of oil, season with salt and pepper. Roast for about 20 minutes or until golden and soft.

2. Meanwhile, heat one tablespoon oil in a large frying pan over moderately high heat. Add onion, cook and stir for 5 minutes or until soft. Add garlic and cinnamon; cook and stir for 2 minutes until fragrant. (and this is seriously delicious smelling!)

3. Transfer mixture into a bowl. Add lentils and sweet potato. Mash coarsely and season with salt and pepper. I actually ended up running the mix through the blender to get it combined. Allow to cool  enough to touch.

Seriously too much sweet potato and lentil!
4. Shape into patties. Place each patty on a square of plastic wrap, cover and allow to cool for 30 minutes in the fridge. (these patties can be stored in the fridge at this point for a day or so if you don't want to cook them all right then)
An out of focus view of my patty wraps
5. Place flour on a plate. Coat patties in flour, shake off excess. Dip in the egg and coat evenly in the breadcrumbs.

6. Pour oil into a frying pan about an inch and a half deep. Heat over medium heat (oil will be ready when a cube of bread crisps without absorbing the oil). Fry patties in batches for 2-3 minutes each side or until golden brown.


7. Combine ingredients for dressing in a bowl. Serve with the patties.

Saturday, February 4, 2012

Ciabatta Rolls


I have a serious food crush on ciabatta bread. I think it is the light, airy inside paired with the lovely chewy, firm crust. I'm big on textures with my food, sometimes I just don't feel like the meal is done until I've had something crunchy. I like anything that combines multiple textures.

I have been looking for a good ciabatta roll recipe for a while. These are fantastic for any kind of sandwich, as well as for simply using them as a side with butter. I particularly like them for tuna sandwiches with a healthy amount of lettuce and tomato. The recipe is fairly easy, there is no sponge to prepare the day before, so you can start these at lunch and be eating them at dinner! Plus, you use a KitchenAid to do the kneading so no messy hands and flour all over the kitchen.

Ciabatta Rolls (makes 6-8 rolls)
4.5 C bread flour
2 cups water
2 teaspoons yeast
3 teaspoons salt

1. Mix together all the ingredients in the bowl of a KitchenAid mixer (or similar brand) with a paddle attachment until just combined. Let rest for 10 minutes.

2. With the paddle, beat dough well. When the dough combined and working like a very sticky dough (climbing up the paddle), change to the dough hook. Continue beating dough until it separates from the sides of the bowl and is almost coming off the bottom of the bowl.

3. Place into a well oiled container and let it triple. (about 2.5 hours)

4. Empty onto a floured counter and cut into squares. Spray with oil and dust with flour. Let rolls proof for about 45 minutes. During this time, preheat oven to 500° F.

5. After 45 minutes rolls should be puffy. Pick up and flip over onto a parchment covered baking sheet. This distributes the bubbles in the dough so you get even bubbles in the roll. You want to do the flip in one gentle motion so as not to disturb the bubbles too much.

6. Bake at 500° about 15-20 minutes, rotating halfway through. Check on them often, you want to take them out when they are golden. The oven is ridiculously hot, so it may be better to base your baking time off of color than the timer. Transfer to a rack. Try to allow them to cool a little before eating, but good luck with that!